Blog
Inside Out – Official trailer HD
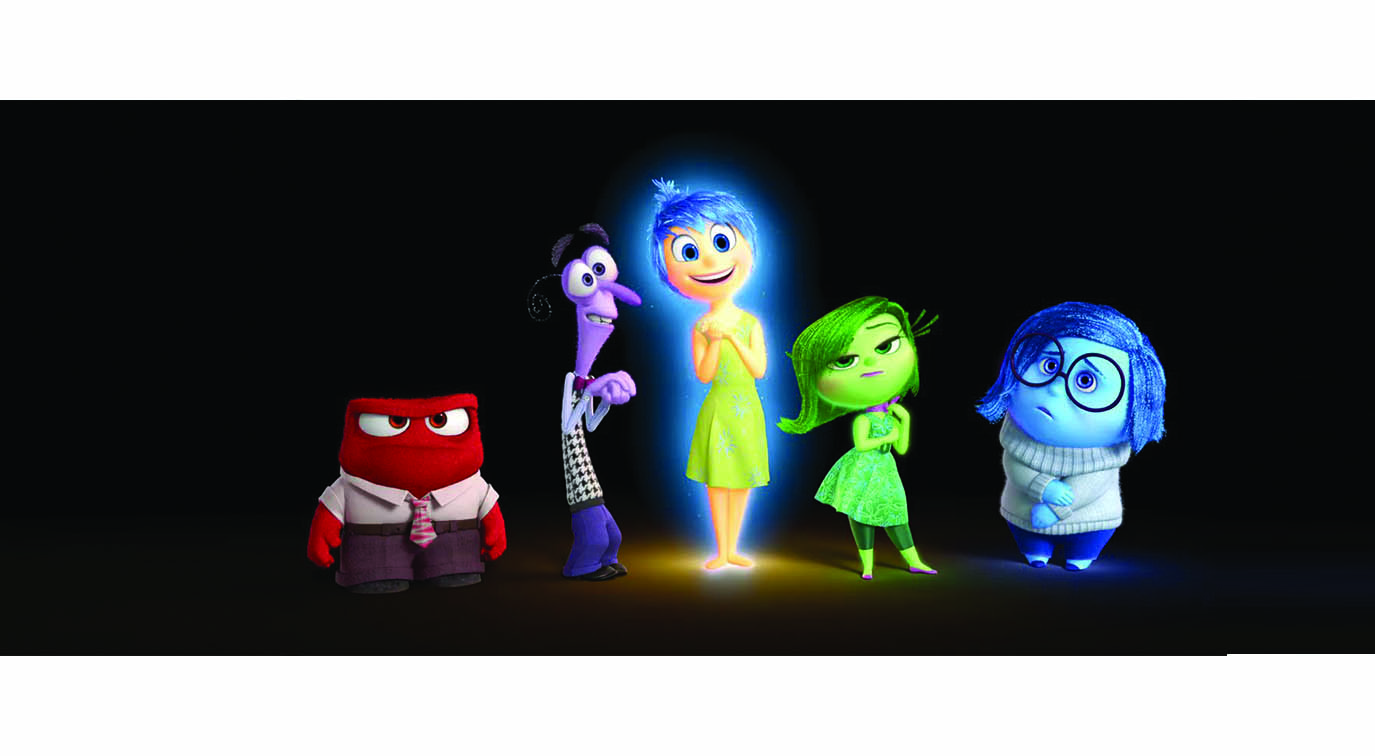
Inside Out will be Pixar‘s fifteenth feature film. It is directed by Pete Docter and co-directed by Ronnie del Carmen, with Jonas Rivera as producer. It will be released on June 19, 2015.
News about VFX, CG & animations from all around the world.
Inside Out will be Pixar‘s fifteenth feature film. It is directed by Pete Docter and co-directed by Ronnie del Carmen, with Jonas Rivera as producer. It will be released on June 19, 2015.
A Blogger has developed a rather well put together video that suggests that every Pixar film would place in the same universe and would be linked.
Simple script that reset all the object’s material to Standard material and reset also the Materials Editor window. USAGE: just drag the .ms script to the 3dsmax view. If you have suggestions or feautures to add don’t esitate to contact me! Enjoy http://www.creativecrash.com/3dsmax/script/as-clean-materials
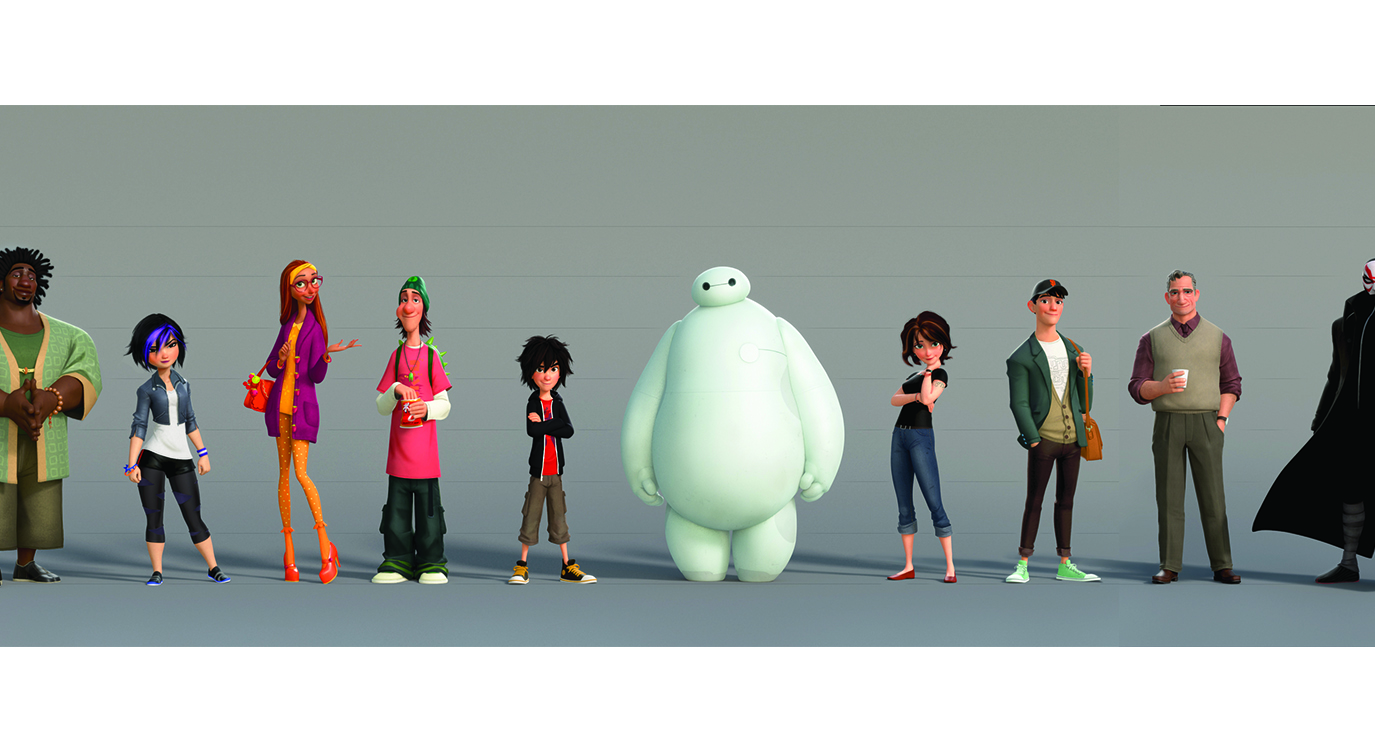
Making of Big Hero 6 Get a peek behind the Disney curtain as Engadget speaks with Walt Disney Animation Studio Chief Technology Officer and the directors of ‘Big Hero 6’. Watch Making of Disney’s upcoming animated film Big Hero 6. Get a peek behind the Disney curtain Walt Disney Animation Read more…

The new feature of the master Isao Takahata, co-founder of Studio Ghibli, will soon arrive in European theaters. Today I present an extract of Kaguya-Hime no Monogatari (The Tale of Princess Kaguya). After the first visions at home and the first festival, the film now arrives in the old continent, beginning Read more…
|
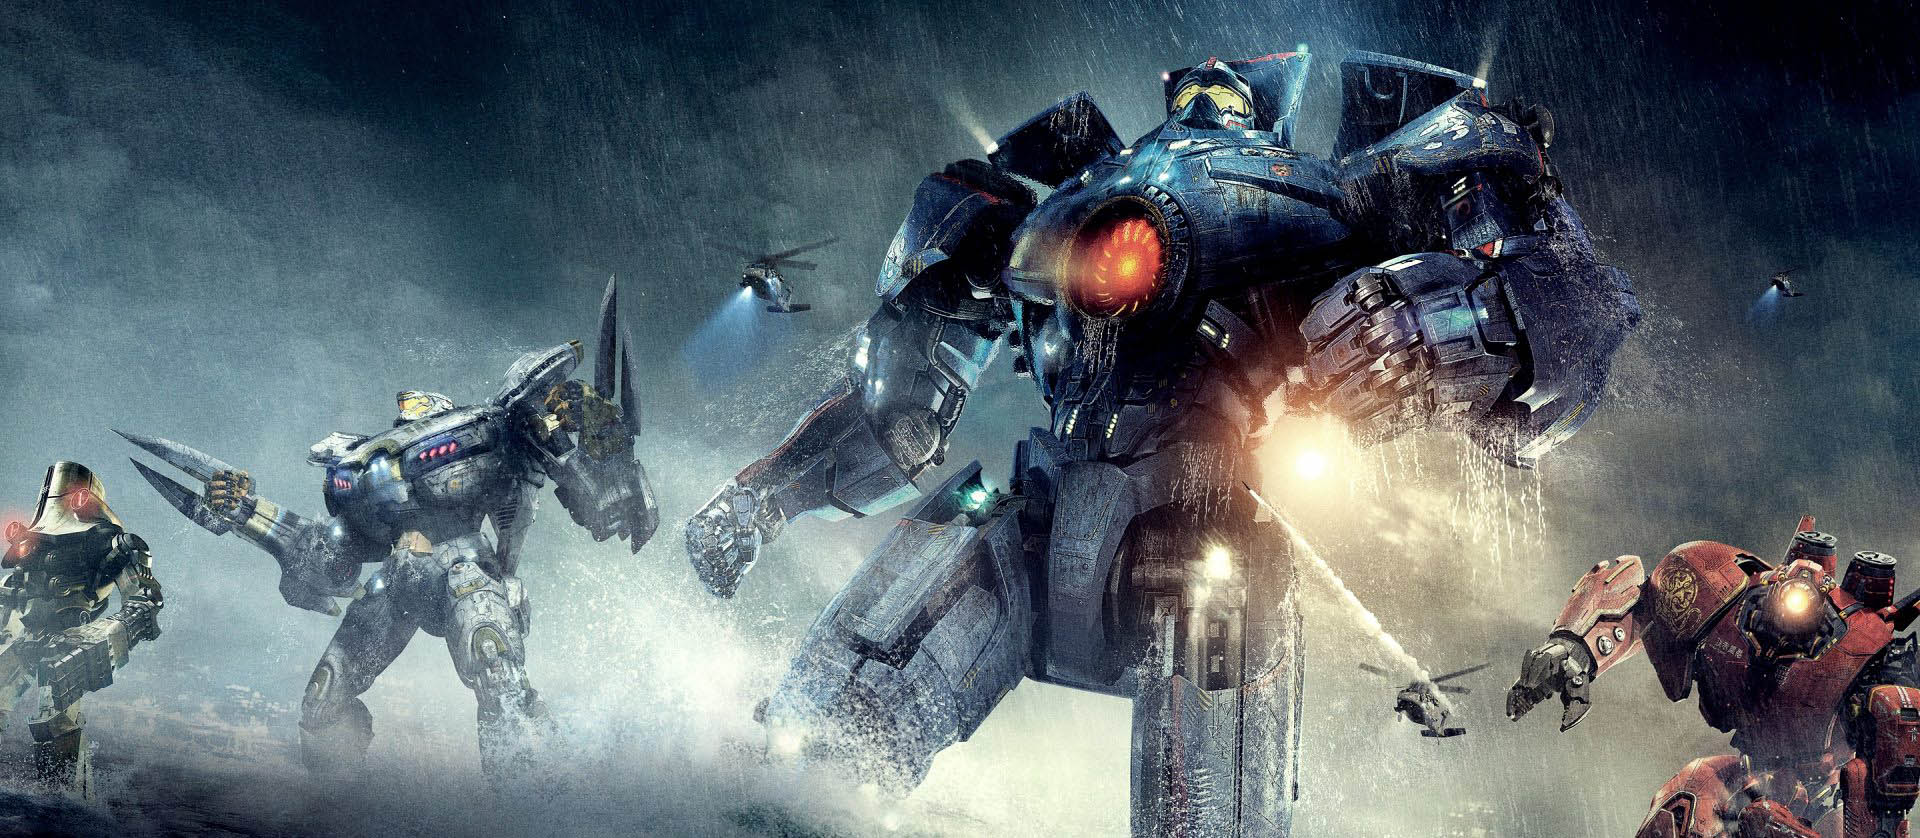
Guillermo Del Toro is the original fan boy. The director who has been behind an amazing variation of creatively powerful work, from Hellboy to Pan’s Labyrinth, Del Toro is passionately engaged in the worlds of fantasy and sci-fi. So much so that he acknowledged his own obsession by dubbing his latest effort, Pacific Rim, “robot porn.”
Robot porn it is. The terrifying Kaiju — huge monsters from the depth of the ocean, each with its own physiognomy and personality — meet the 250-foot high Jaegers, man-made and man-directed battleship-like robots. The immensity of these main characters (who play alongside a cast of human actors with their human dramas) can’t be over-stated. Perhaps it’s no surprise that Industrial Light & Magic (ILM), a pioneer in all VFX, brought this all to life.
ILM hard surface modeler David Fogler enumerates some of the stats: The Jaeger ‘Gipsy Danger’ is so large that the Statue of Liberty would only reach its knees. It is 10 times taller than King Kong and its feet are as long as two city buses. She (in the tradition that battleships are referred to as females) takes only two steps to cross a football field.
(L-r) The United States’ Gipsy Danger and Australia’s Striker Eureka.
(more…)
First official early in-engine footage for Star Wars Battlefront direclty from E3 2014 ! The game is still clearly super early in development, but you’ll get to see some snippets of in-engine footage and some tantalising glimpses of what’s to come.

The Wolf of Wall Street Scanline VFX Shot Breakdowns Reel. A look at Scanline VFX’s visual effects in director Martin Scorsese’s THE WOLF OF WALL STREET, which received a Visual Effects Society Award nomination for Outstanding Supporting Visual Effects. Scanline VFX is a visual effects company with offices in Los Read more…
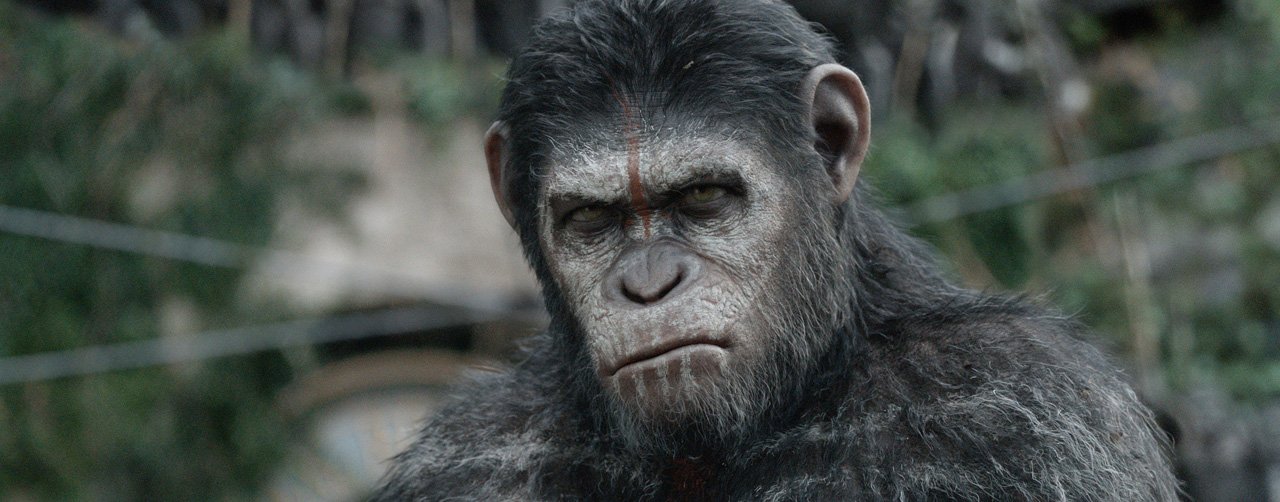
In this video Director Matt Reeves explain the making of Dawn of the Planet of the Apes where he shows, how the motion capture and VFX has evolved since Rise of the Planet of the Apes.
Teenage Mutant Ninja Turtles is an upcoming American science fiction action film based on the franchise of the same name. A reboot of the Teenage Mutant Ninja Turtles film series, the film is directed by Jonathan Liebesman and stars Megan Fox, Johnny Knoxville, Pete Ploszek, Noel Fisher, Jeremy Howard, Alan Read more…
Adriano Sanna - 2023 All rights reserved.